Utility and Fine-Tuning
[home]
(Note: Fine-Tuning is only available when using OpenAI not Azure OpenAI)
Utility and Fine-Tuning contains tools to
help you create and manage your fine-tuned models. You can access
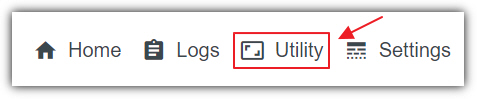
the page by clicking on Utility on the main menu.
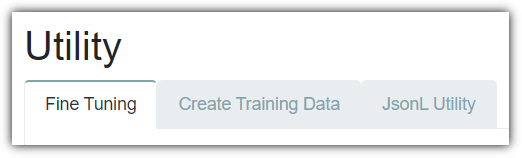
The Utility page consists of the following sections:
Fine Tuning
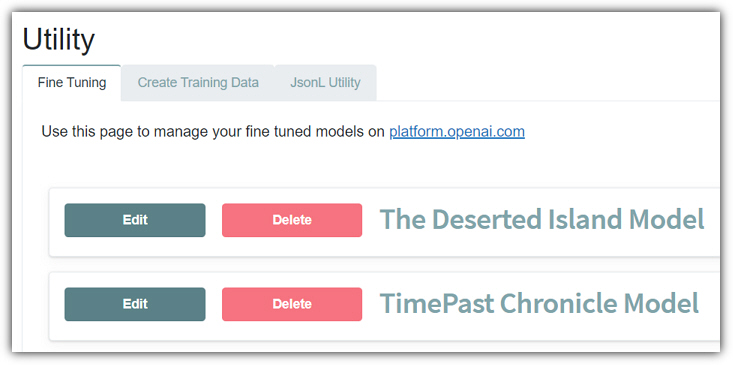
- Displays any Fine-Tune models you have created on
OpenAI.
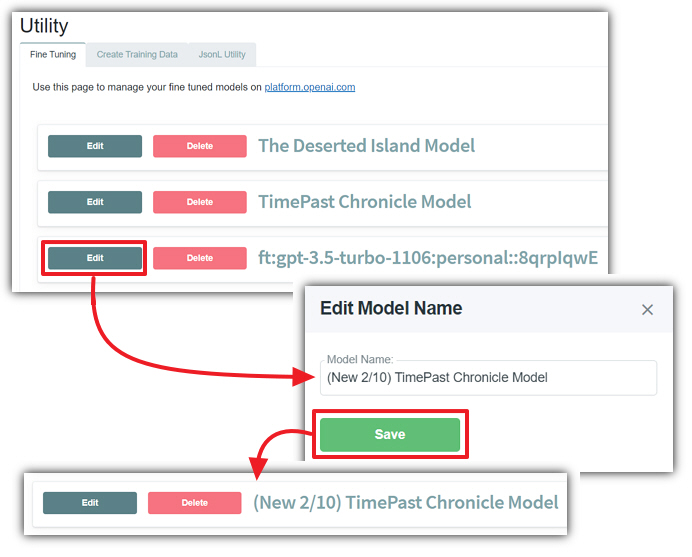
- Edit button - Allows you to rename the file name to a
more easily understandable name.
- Delete button - Allows you to delete the
Fine-Tune model. This will actually delete this model on
OpenAI.
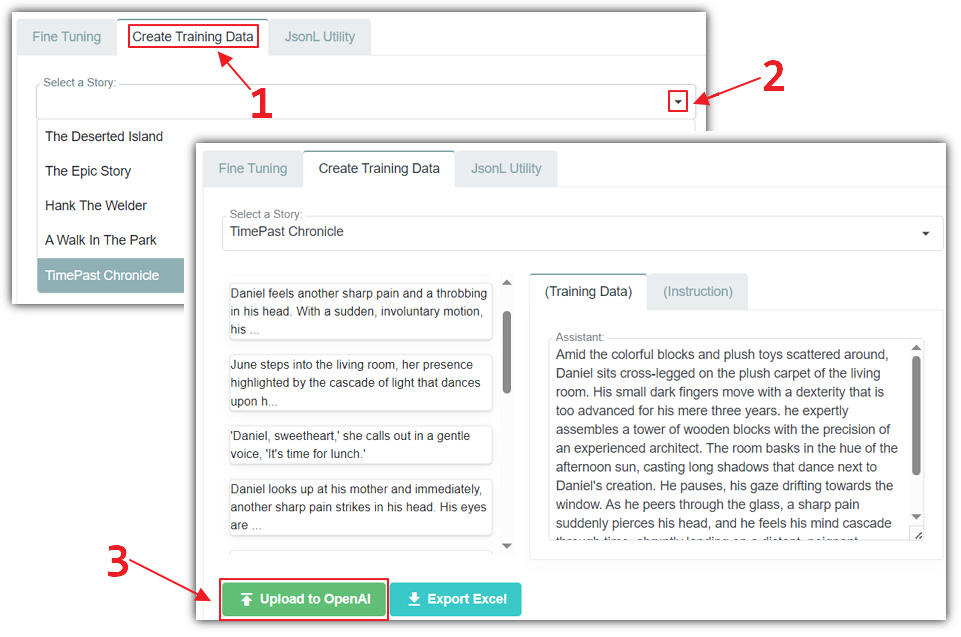
Create Training Data
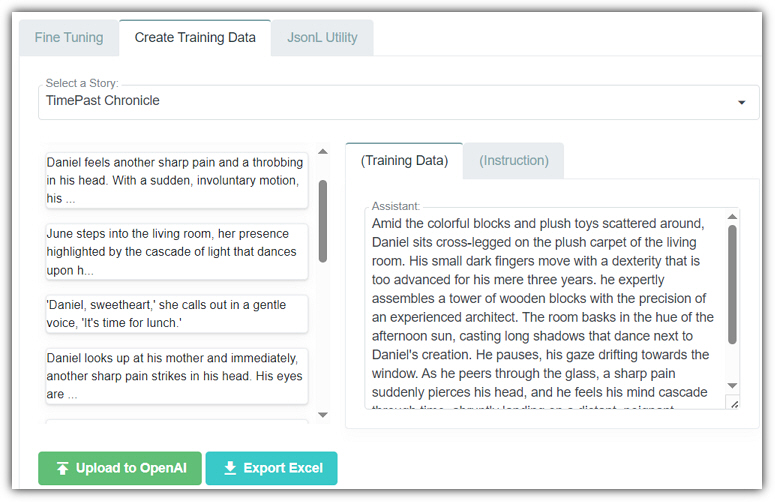
- Allows you to select an existing Story from the
dropdown.
- Allows you to select a section in the left-hand window, and edit the
content of the text in the (Training Data) and
(Instruction) tab on the right.
- Upload to OpenAI button - Sends the selected
Story to OpenAI as training data and starts
processing it as a fine-tuned model.
- Export Excel button - Allows you to export the training
data as an Excel file.
JsonL Utility
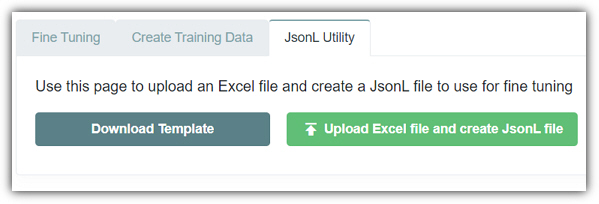
- Download Template - Provides an Excel
file to use as a template for your Fine-Tune model training
data.
- Upload Excel file and create JsonL file - Allows you to
upload the Excel file and return the data in the
JsonL format that can then be uploaded to OpenAI
to Fine-Tune your model.
Guide to Automatically Fine-Tuning Your AI Model with OpenAI
Creating the training data to create a fine-tuned model is
simple and easy when using the Create Training Data tab.
- Navigate to the Create Training Data tab
- Select an existing Story where all the existing prose
has been edited to match your writing style
- Click the Upload to OpenAI button
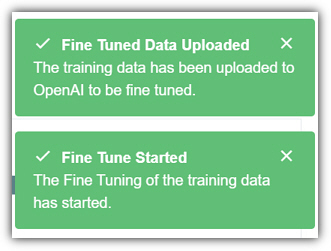
You will see status messages that the contents of the Story
have been uploaded to OpenAI as training data and that
fine-tuning has started.
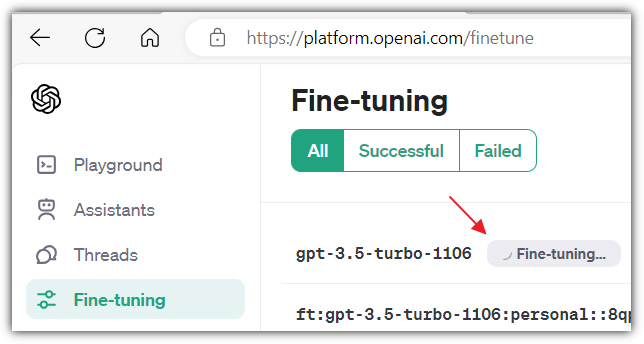
You can navigate to: https://platform.openai.com/finetune
and see the progress.

When fine-tuning is complete you will receive an email from
OpenAI.
Click on the Home
button and then navigate back to the Utility page by clicking
the Utility button.
On the Fine Tuning tab you will see your new fine-tuned
model.
OpenAI assigns a unique identifier to each fine-tuned
model. If desired, you can rename your model to
something more memorable or descriptive. This can be done by selecting the
Edit button next to the model's name on the Utility
page in the AIStoryBuilders application.
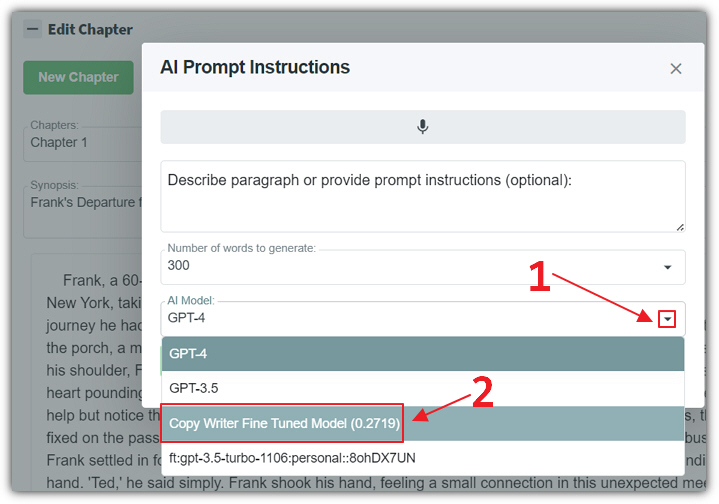
Once your model is
fine-tuned and ready to go, you can
start using it to generate responses by selecting it from the AI
Model dropdown.
Export To Excel
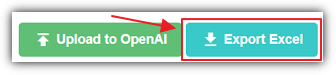
You can also click the Export Excel button to export the
training data to Excel. This will allow you to edit the data
and then use the JsonL Utility page to convert it from
Excel to JsonL to upload manually to OpenAI.
See "Step-by-Step Guide to Manually Fine-Tuning Your AI Model with OpenAI"
below.
Editing Text
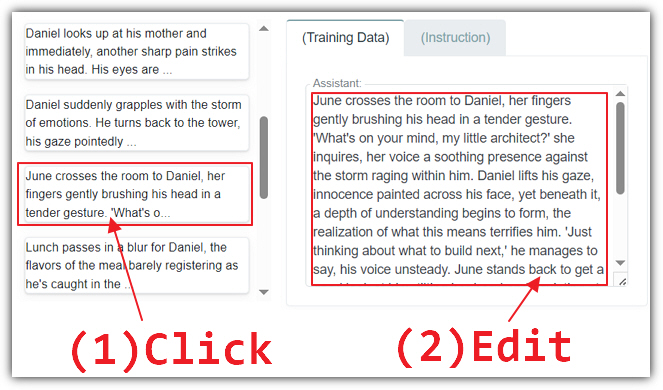
Before submitting the training data to OpenAI, you can click
on any section in the left-hand window and edit the content of the text in the
(Training Data) and (Instruction) tab on the
right.
Step-by-Step Guide to Manually Fine-Tuning Your AI Model with OpenAI
- Create at Least 10 Samples
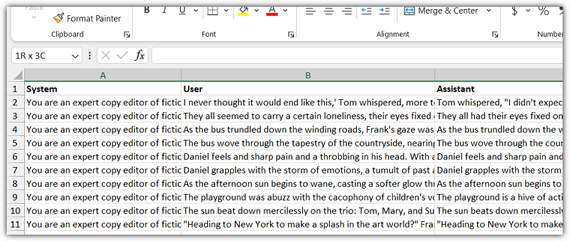
Fine-tuning an AI model with
OpenAI starts with creating training data. You'll need at least
10 samples, however the more, the better. Use the
Download Template button to retrieve the Excel
file to use for the data. A sample of the type of content you would want to
create can be found in the file at the following link:
FineTunedSample.xls
- Create the JSONL File
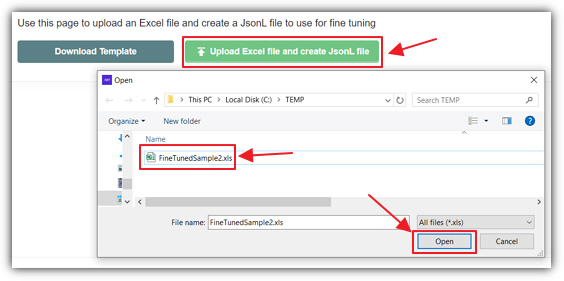
Once you have your training data entered into the Excel
template, you need to format it in the JSONL file format to
upload to OpenAI. JSONL stands for
JSON Lines, which means each line must be a valid JSON
object. This is difficult to do manually. Click the Upload Excel
file and create JsonL file button to open the dialog to allow you
to select the Excel file with your training data.
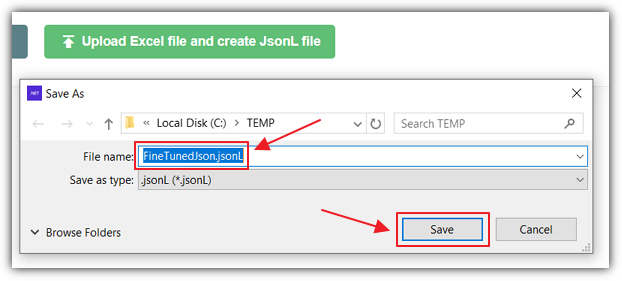
A JSONL file will be returned. Save the file.
- Upload to OpenAI
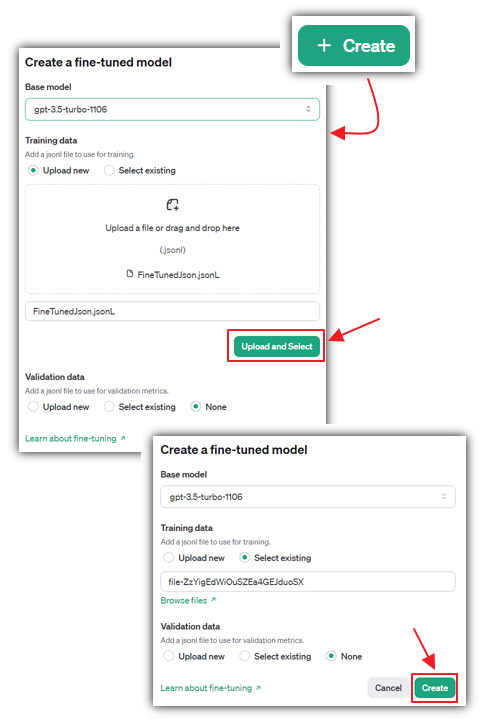
After preparing your JSONL file, navigate to:
https://platform.openai.com/finetune and upload it to OpenAI
through their user interface.
- Receive the Email on progress from OpenAI
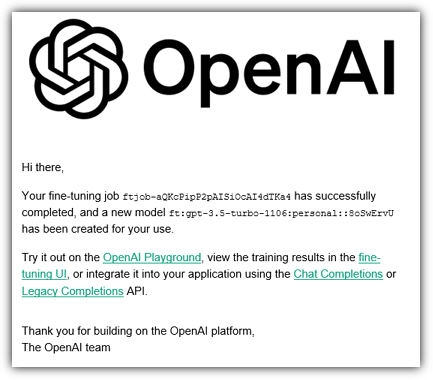
Once you trigger the fine-tuning process, OpenAI
will use your training data to fine-tune the model. You'll
receive an email notification once your model starts
training and another when the training is complete. This email will contain
important information about your model's training status and any issues
encountered during the process.
- (Optional) Rename the Model
OpenAI assigns a unique identifier to each
fine-tuned model. If desired, you can rename your model to
something more memorable or descriptive. This can be done by selecting the
Edit button next to the model's name on the Utility
page in the AIStoryBuilders application.
- Consume the Model When Making an AI Prompt
Once your model is fine-tuned and ready to go, you can
start using it to generate responses by selecting it from the AI
Model dropdown.