[home]
NOTE: If this is your first time using the prgram, you will have to set up a connection to the OpenAI or Azure OpenAI service. See directions here: Settings
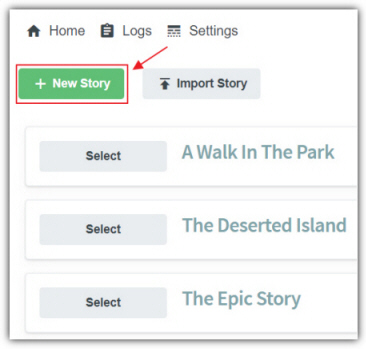
The first step to create a new story is to click the New Story button.
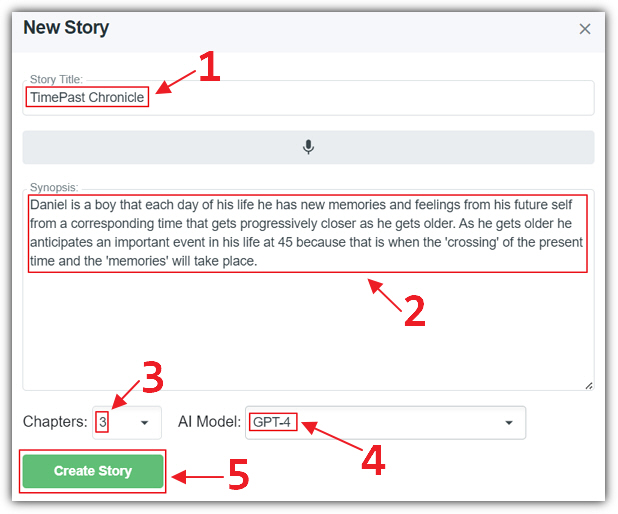
This will open the wizard and we are prompted to enter a Story Title, a Synopsis for the story, and how many Chapters we want to be automatically generated. We then click the Create Story button.
The program will call the OpenAI API to generate the skeleton of the story.

We are now in the story edit mode which consists of the following sections:

We can select the Timelines tab to navigate to the Timelines section. Clicking the edit button next to a Timeline will allow us to edit that Timeline. We also have the option of adding a new Timeline by clicking the New Timeline button.

Clicking the Locations tab navigates us to Locations. We can edit an existing Location by clicking the edit button next to that Location. We can also add a new Location by clicking the New Location button.
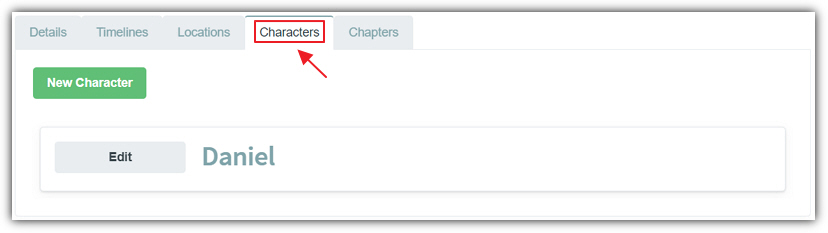
We can navigate to the Characters section by clicking the Characters tab. This also allows us to edit an existing Character by clicking the edit button next to that Character. We can also create a new Character by clicking the new Character button.
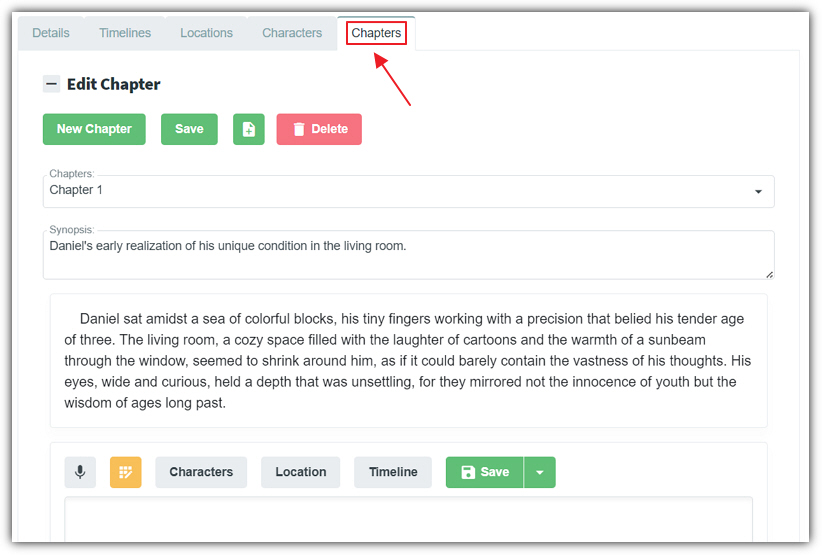
Finally, we can navigate to the Chapters section by clicking the Chapters tab.
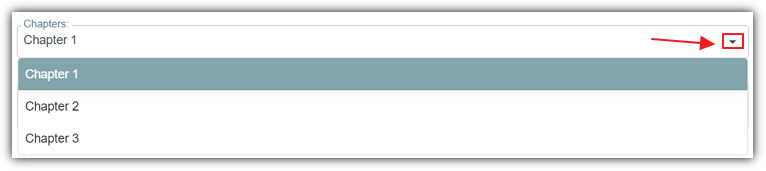
We can use the Chapter dropdown to switch between Chapters.
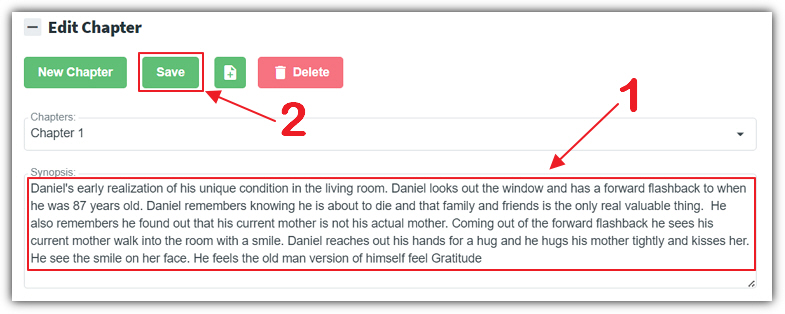
For Chapter 1 we can update the Synopsis for the Chapter to better guide the AI when we ask it to generate or update content in the Chapter.

Each paragraph Section has optional Characters, Location, and Timeline associated with it.
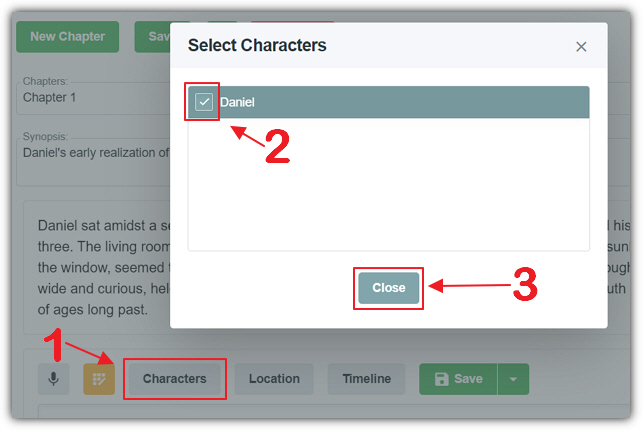
For example, to edit the Characters associated with that paragraph Section, you can click the Characters button to open the popup and select or deselect an existing Character by clicking on its check box and then clicking the Close button.

To use the AI to generate content, we can clear the existing content in the paragraph Section by selecting it and clicking the delete button to delete it. We can then click the AI button to open the AI popup dialog.

We can insert an optional instruction. If we omit the instruction the AI will generate content based on the Chapter Synopsis and any paragraphs that preceded the paragraph Section.

The program will make an API call to OpenAI to generate content.
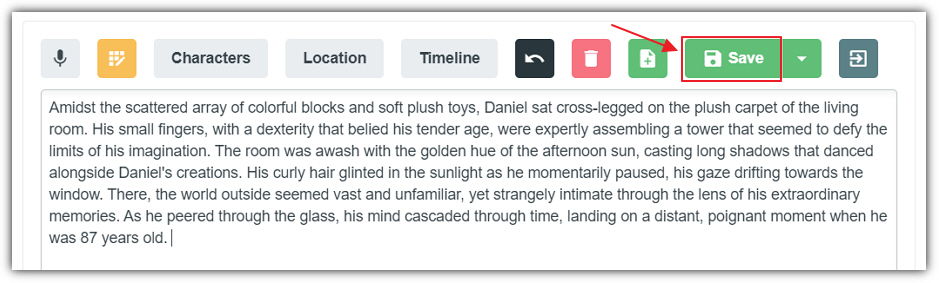
The generate content will be displayed. We can now click the Save button to save it.
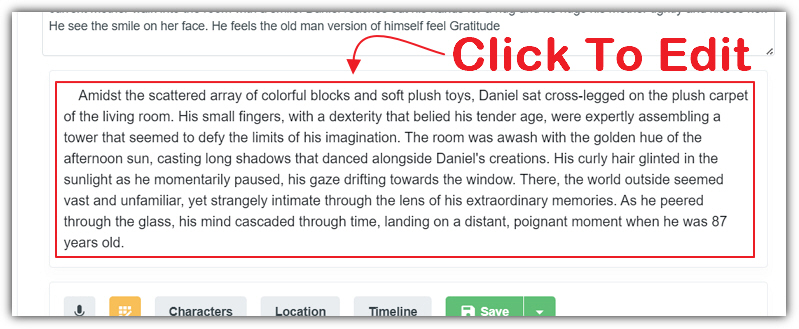
To edit an existing section, we can click on it to put it in edit mode.
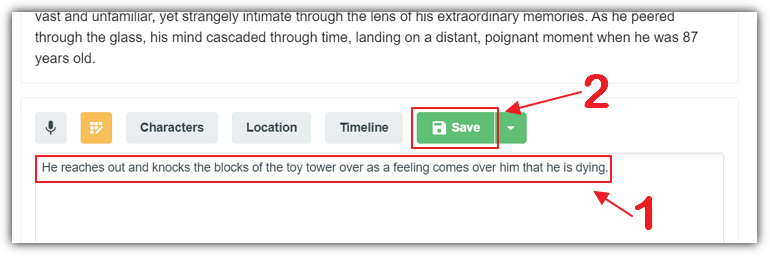
There will always be an edit box at the end of a chapter to allow you to enter new content and click the Save button to save it.